
In a world filled with mass-produced goods, there is something profoundly satisfying about creating something with your own two hands. The ability to take liquid materials and transform them into a durable, glossy, and functional piece of art is nothing short of alchemy. This is the magic of epoxy resin crafting.
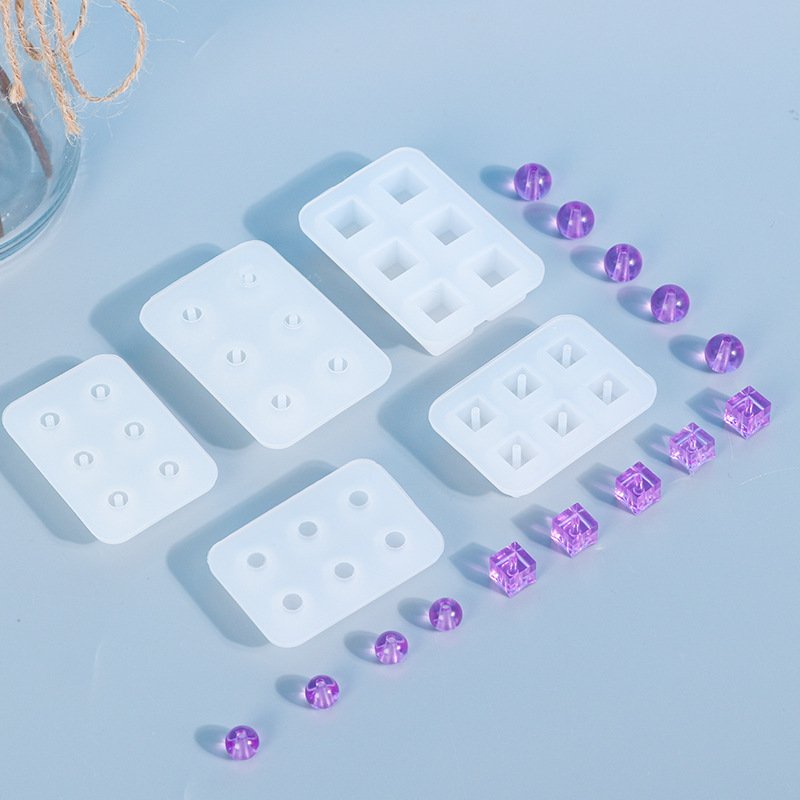
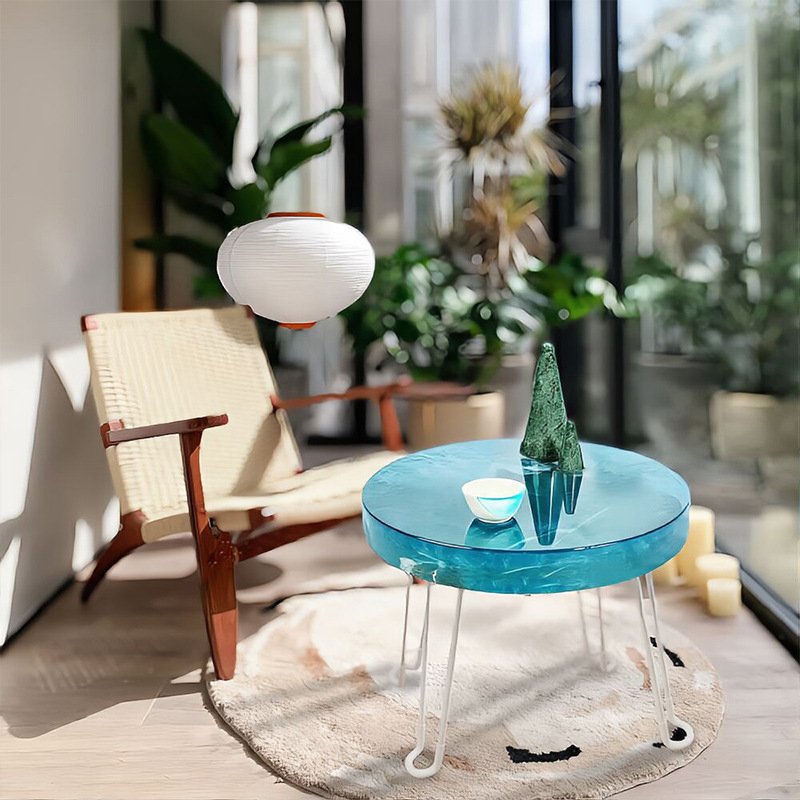
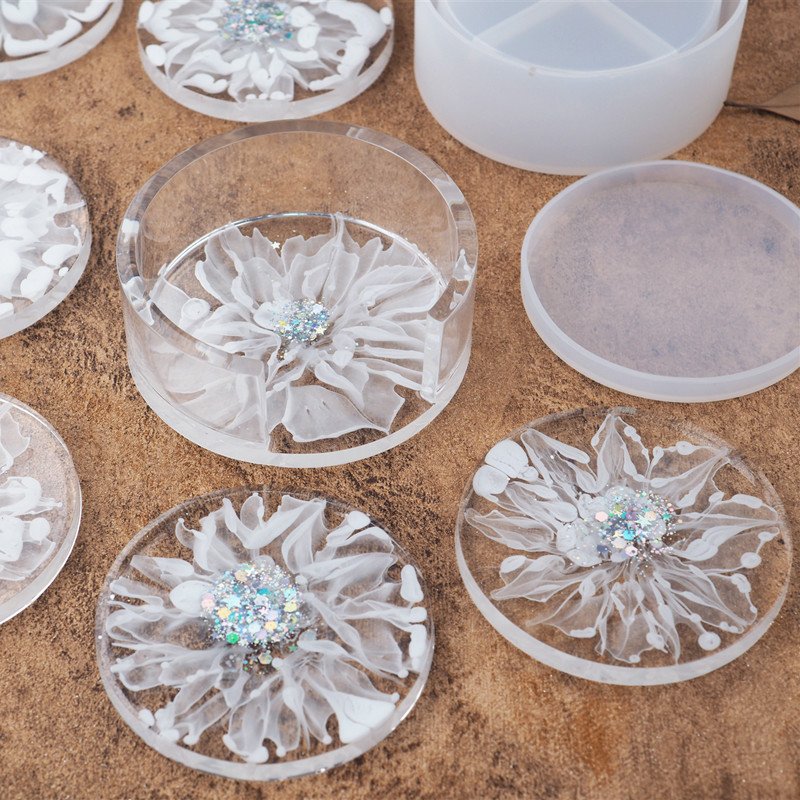
If you are looking for a gateway project into the world of resin art, look no further than the humble coaster. DIY resin coasters are the perfect starting point for beginners and a beloved staple for seasoned artisans. They are practical, protect your furniture, and serve as miniature canvases for your creativity. At the heart of every great resin project lies an unsung hero: the mold. Today, we are diving deep into how you can create professional-quality pieces using high-quality silicone molds, specifically focusing on the versatile round coaster molds and the game-changing coaster storage box mold .
Why Resin? Why Coasters?
Epoxy resin is a versatile medium that allows you to preserve beauty. Whether it’s a dried flower from a special occasion, a splash of vibrant color, or the shimmer of gold leaf, resin captures it in a crystal-clear, glass-like finish that lasts for years.
Coasters are an ideal project for several reasons:
- They are Functional Art: Every time you or a guest places a cup on one, you appreciate the beauty you’ve created.
- They are Manageable: Unlike large river tables, coasters require less resin, cure faster, and leave less room for catastrophic errors.
- They Make Perfect Gifts: Handmade coasters, especially in a set with a matching holder, carry a sentimental value that store-bought items simply cannot match.
The Foundation of Perfection: Choosing the Right Silicone Mold
Before you mix a single drop of resin, you must consider your canvas. The quality of your mold dictates the quality of your finished product. Inferior molds can be flimsy, tear easily, or produce cloudy results. This is where the choice of material and design becomes paramount.
Imagine a mold made from high-quality silicone, straight from Dongguan—a region renowned for its manufacturing excellence. These molds are not just tools; they are precision instruments. Here is what sets a premium silicone mold apart:
- The Material: A pure, food-grade silicone is flexible yet sturdy. It allows for easy demolding without damaging your delicate creations.
- The Color: A pristine white silicone mold is more than just aesthetic. It allows you to clearly see your resin as you pour it, helping you spot air bubbles or check the distribution of colors and inclusions before the resin sets.
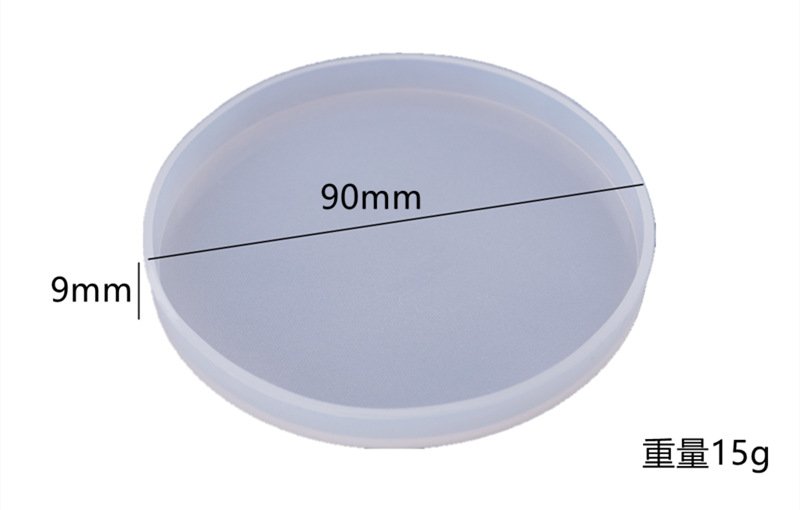
- The Design: For coasters, a round shape is timeless. It fits any décor style, from bohemian to modern minimalist. But the true mark of quality lies in the details. A thickened, sturdy silicone construction ensures the mold holds its shape, preventing warping and ensuring that your coaster has a perfectly even edge.
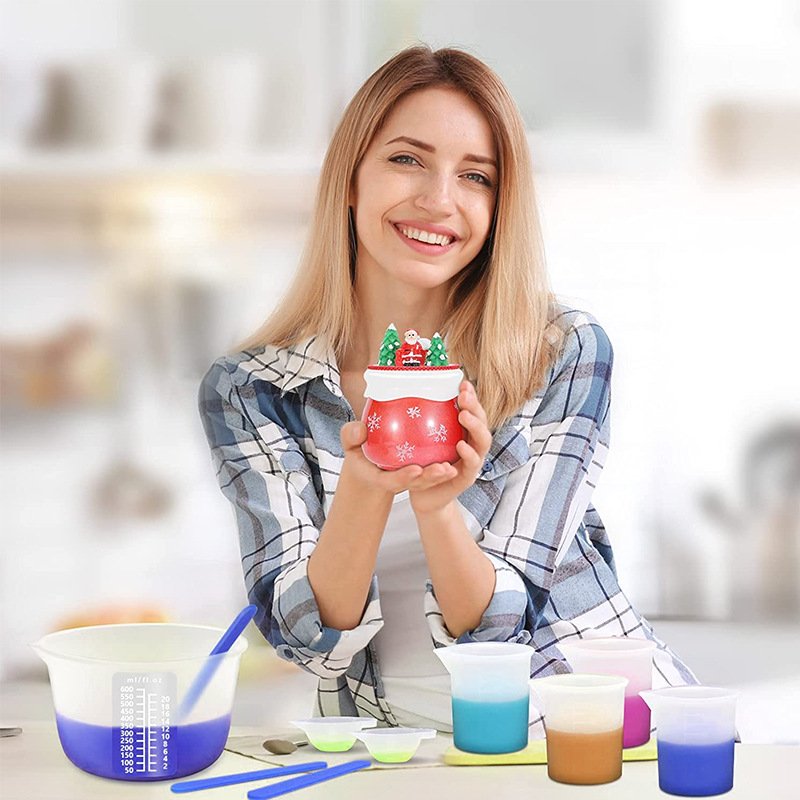
Getting Started: Your Resin Crafting Toolkit
To embark on your resin journey, you’ll need to assemble a few key supplies. Having everything ready before you start will make the process smooth and enjoyable.
Essential Supplies:
- High-Quality Epoxy Resin: A two-part system consisting of resin and hardener. Look for a clear, non-yellowing formula.
- The Star of the Show: Your DIY round epoxy resin silicone mold. If you want to take it a step further, opt for a set that includes a coaster storage box mold.
- Mixing Cups and Sticks: Disposable graduated cups and wooden popsicle sticks are perfect for measuring and stirring.
- Protective Gear: Nitrile gloves and a well-ventilated workspace are non-negotiable for safety .
- Decorative Inclusions: This is where your personality shines! Consider dried flowers, glitter, mica powders, alcohol inks, gold flakes, or even small shells.
- Heat Gun or Torch: Essential for popping those pesky air bubbles that rise to the surface.
- Scissors and Sandpaper: For any minor clean-up after demolding.
Step-by-Step Tutorial: Crafting Round Resin Coasters
Now, let’s get to the fun part. Follow these steps to create your own stunning set of coasters.
Step 1: Prepare Your Workspace and Molds
Cleanliness is next to godliness in resin crafting. Dust and pet hair are the enemies of a glossy finish. Wipe down your work surface and ensure your silicone mold is spotless. Even though silicone is naturally non-stick, a quick wipe with a microfiber cloth ensures no dust particles mar the surface. Place your round coaster mold on a perfectly level surface where it can sit undisturbed for 24 hours.
Step 2: Measure and Mix the Resin
Read the instructions on your resin kit carefully. Most epoxies require a 1:1 ratio by volume. Pour the resin and hardener into your mixing cup. Stir slowly and deliberately for at least 2-3 minutes. Make sure to scrape the bottom and sides of the cup to ensure a thorough mix. If you don’t mix enough, your resin won’t cure properly and will remain sticky.
Step 3: Add Color and Flair
Divide your mixed resin into smaller cups if you plan on using multiple colors. This is the time to add your pigments.
- For swirls and opaque colors, mix in mica powder.
- For translucent, jewel-like tones, use alcohol inks.
- You can even dust a little mica powder directly into the empty mold for a shimmering base.
Step 4: Pour and Arrange
Slowly pour the resin into your round coaster cavities. If you are using a thickened mold, you can fill it to the brim confidently, knowing the sides will hold their shape. Only fill to about 70% if you plan to add heavy inclusions.
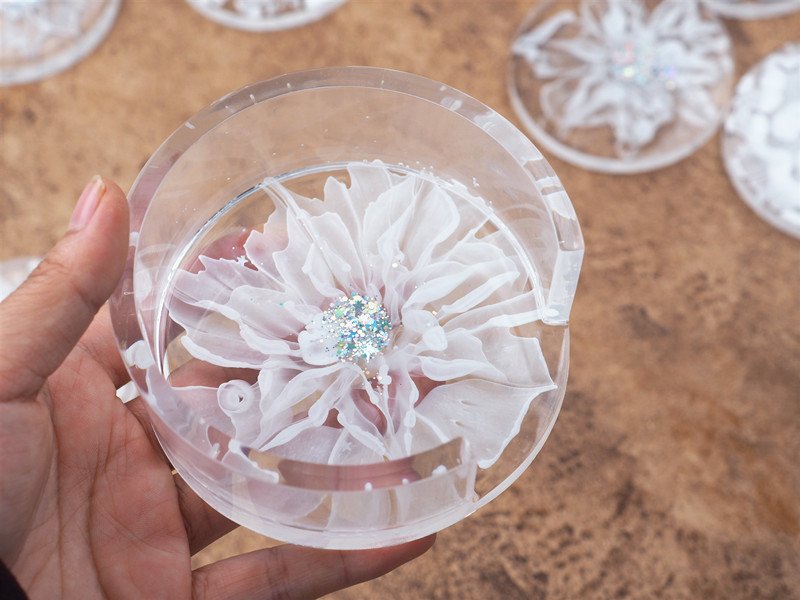
Now, place your decorative elements. Use tweezers to arrange dried flowers or position gold leaf. If you’re making a set, try to keep the designs cohesive.
Step 5: The Bubble Attack
You will almost certainly see tiny bubbles in your poured resin. Don’t panic! Wave your heat gun or torch about 4-6 inches above the surface. The heat will cause the bubbles to rise and pop instantly. Be careful not to hold the flame too close or too long, as it could scorch the resin or, over time, damage the silicone.
Step 6: The Waiting Game
Cover your molds with a cardboard box or a plastic tent to keep out dust. Now, you wait. Depending on the resin brand, the cure time is typically 24 to 48 hours. Do not be tempted to peek by lifting the mold; just let the magic happen.
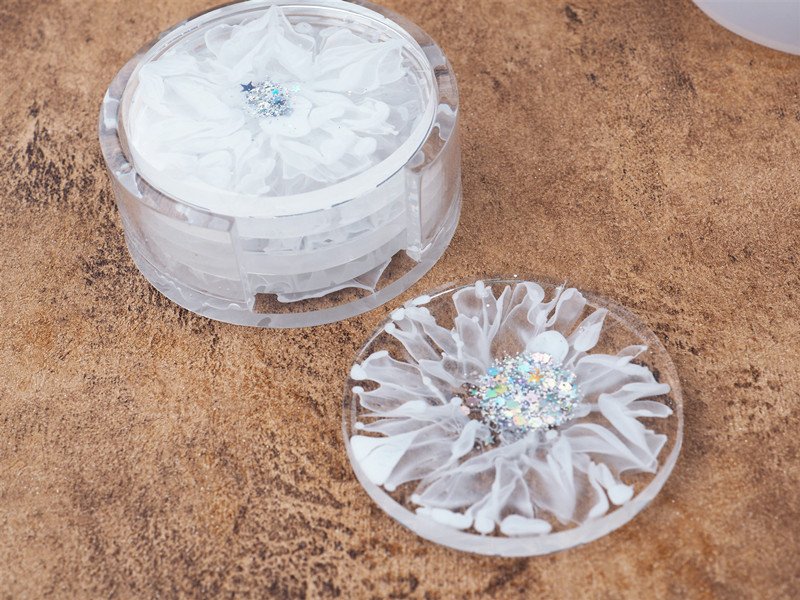
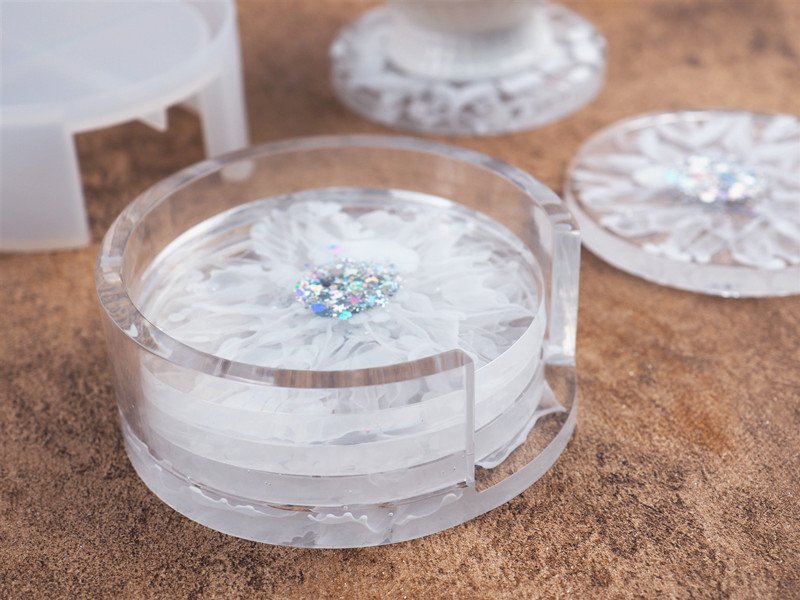
The Finishing Touch: The Coaster Storage Box
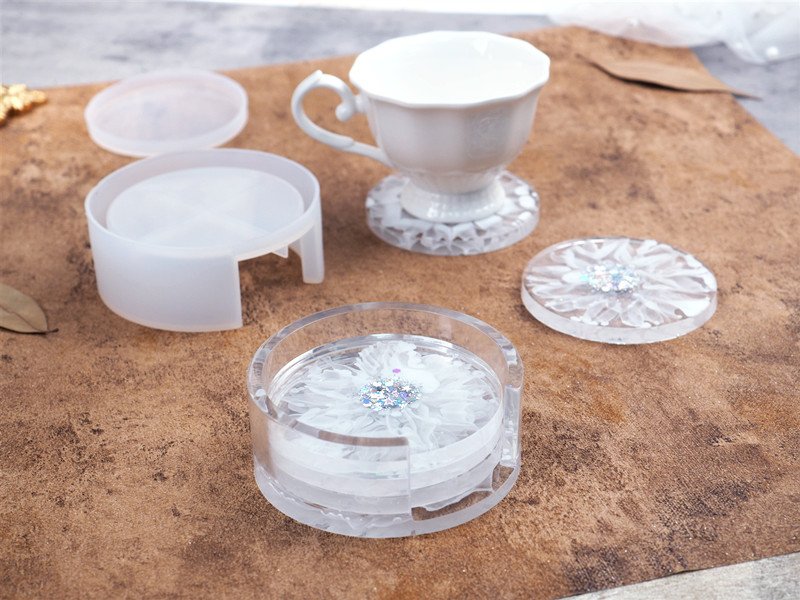
You’ve made four beautiful coasters. Now, how do you store them? Tossing them in a drawer risks scratching their glossy surfaces. This is where the innovative coaster storage box mold comes into play.
Using the same techniques, you can create a custom holder for your coasters. Here’s why this accessory elevates your craft:
- Complete Cohesion: A holder ensures your set looks professional and intentional.
- Protection: It keeps your coasters safely stacked and stored when not in use, preserving their mirror finish.
- Added Utility: It acts as a beautiful catch-all for keys or coins on an entryway table.
The process for making the holder is the same as the coasters. You can choose to make it a solid color that complements the coasters, or keep it clear to let the design of the top coaster show through. When designing, remember the “top” of the coaster is at the bottom of the mold, so place your design elements accordingly.
Design Inspiration: From Simple to Sublime
Once you’ve mastered the basics, the sky is the limit. Here are a few ideas to spark your imagination using your round circle mold:
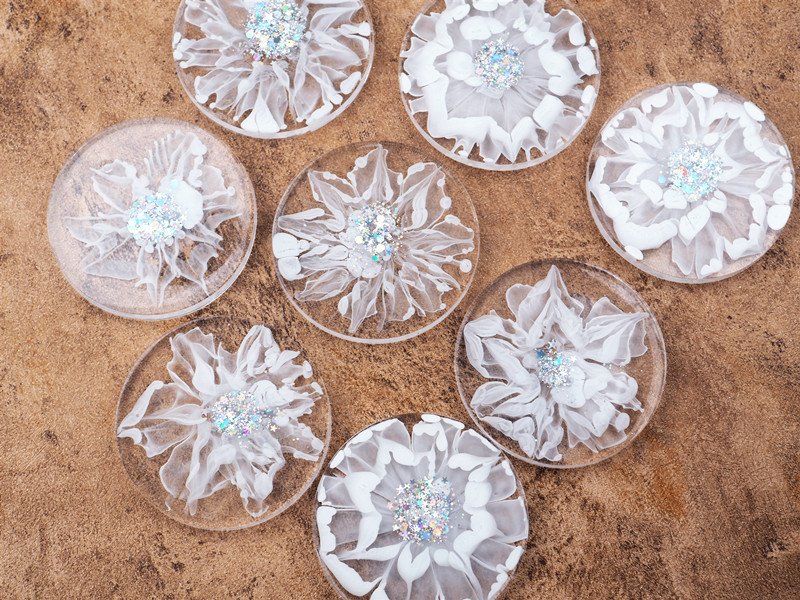
- Preserved Botanicals: Pressed flowers and ferns create an elegant, nature-inspired look. Make sure your flowers are completely dry before using them to prevent them from browning over time.
- Geode Glam: Use different colored mica powders and gold leaf to create the illusion of a geode slice. Start with a white base in the center and swirl darker colors and glitter towards the edges.
- Ocean Dreams: Use blue and green alcohol inks with a touch of white for waves. Add a sprinkle of fine glitter for sea foam and tiny shells for a beachy vibe.
- Mirror Finish Magic: For a truly high-end look, create a set of solid black or white coasters. The glossy, mirror-like finish from the smooth silicone surface will look sleek and modern in any home.
Why Quality Matters: The Dongguan Difference
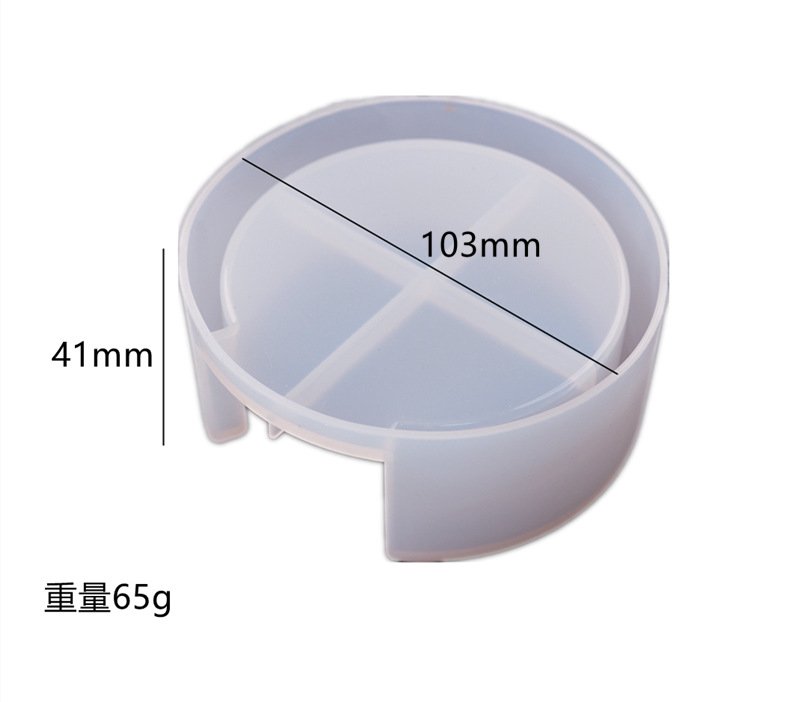
When sourcing your supplies, quality is paramount. Molds originating from manufacturing hubs like Dongguan are often held to higher standards of precision. A mold that is thickened offers several advantages:
- Durability: It withstands the heat generated during the resin curing process without warping.
- Ease of Use: A thicker wall is easier to handle and less likely to fold over on itself when full of liquid resin.
- Clean Edges: It provides structural integrity, ensuring that your finished coaster has a professional, crisp edge that requires little to no sanding.
Caring for Your Handmade Creations
Once your coasters are demolded, they are ready to use. To keep them looking their best:
- Clean them with a soft, damp cloth. Avoid using harsh chemicals or abrasive scrubbers.
- While resin is durable, it can be scratched by rough surfaces. Store them in the coaster storage box to keep them safe.
- Avoid leaving them in direct sunlight for extended periods to prevent any potential yellowing over many years.
Conclusion: Your Journey Begins Now
DIY resin crafting is more than just a hobby; it’s a form of self-expression. With just a few materials—quality resin, a few decorative items, and a reliable silicone mold—you have the power to create something beautiful and unique.
Whether you are drawn to the sleek simplicity of a mirror finish, the textured beauty of dried flowers, or the organizational satisfaction of a matching storage box, your journey starts with that first pour. The white, thickened silicone molds from Dongguan are waiting to be your partner in creativity. They offer the reliability and professional finish that turn a simple craft session into a masterpiece-making endeavor.
So, gather your supplies, clear your table, and pour your heart out. Your set of custom, handmade coasters is waiting to be born. Happy crafting
Contact me for custom procurement.:silicone@silic0ne.com