
There is a reason the sea turtle has captured the human imagination for centuries. They are ancient mariners, symbols of wisdom, endurance, and the serene mystery of the deep ocean. To hold a tiny, glass-like representation of a sea turtle in your hand is to hold a piece of that magic—a tangible connection to the rolling waves and the tranquil life beneath the surface.
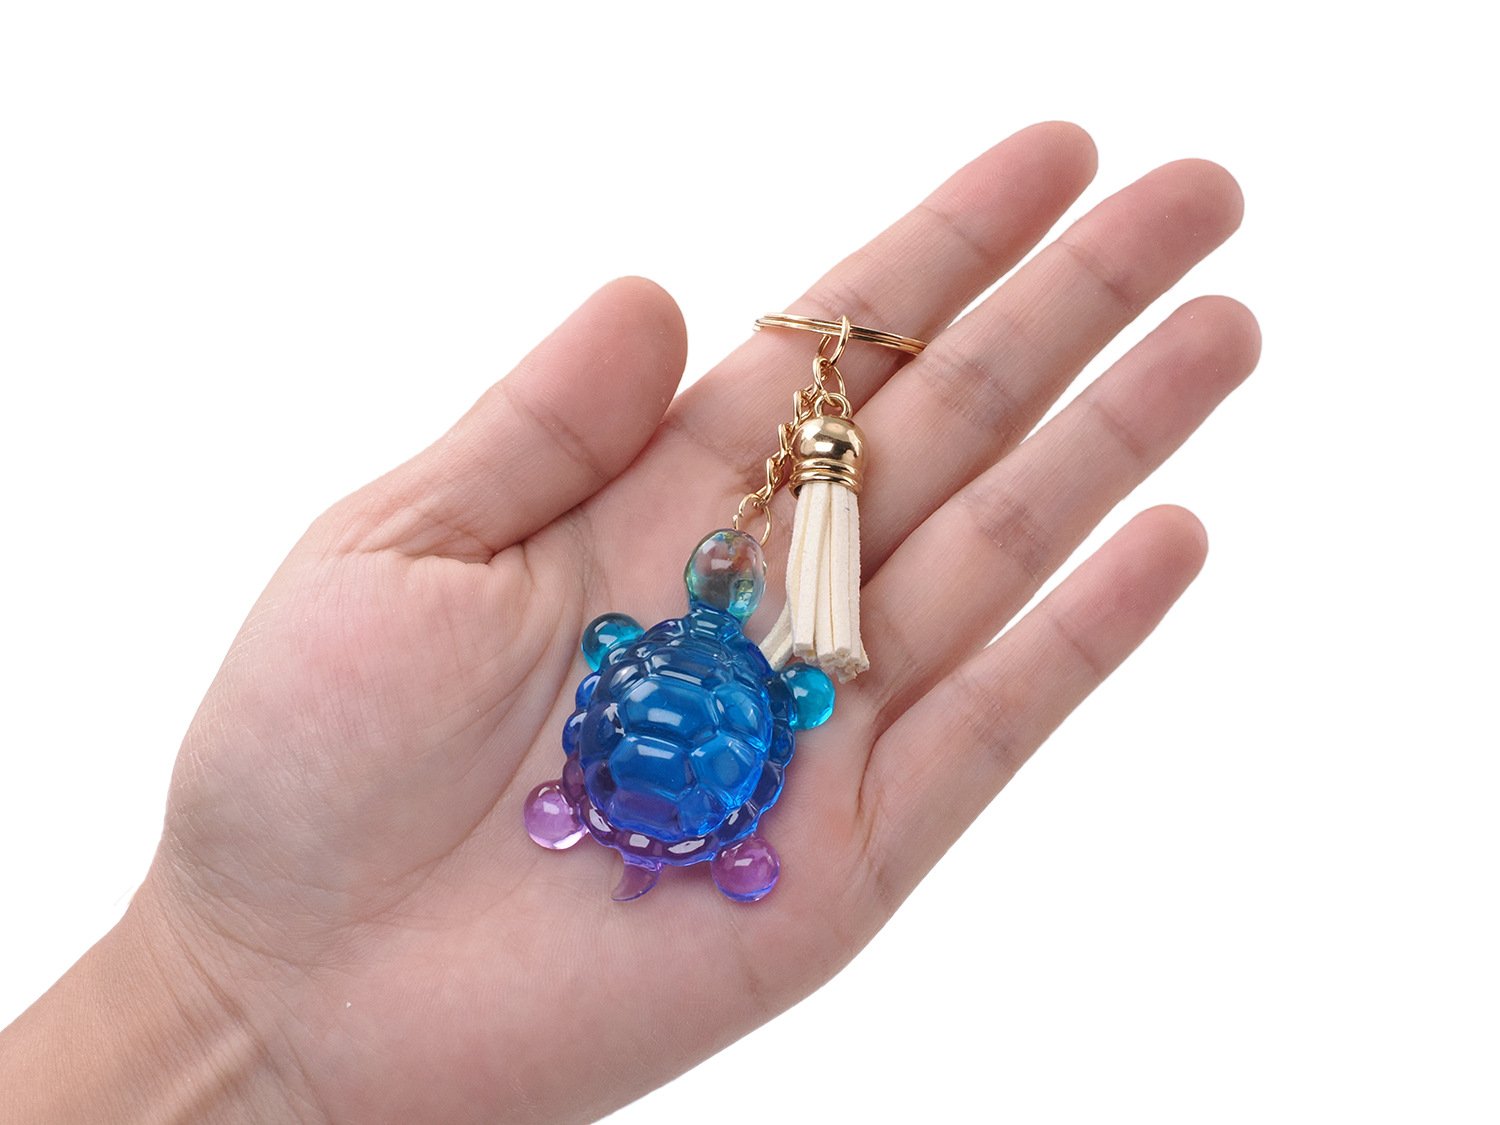
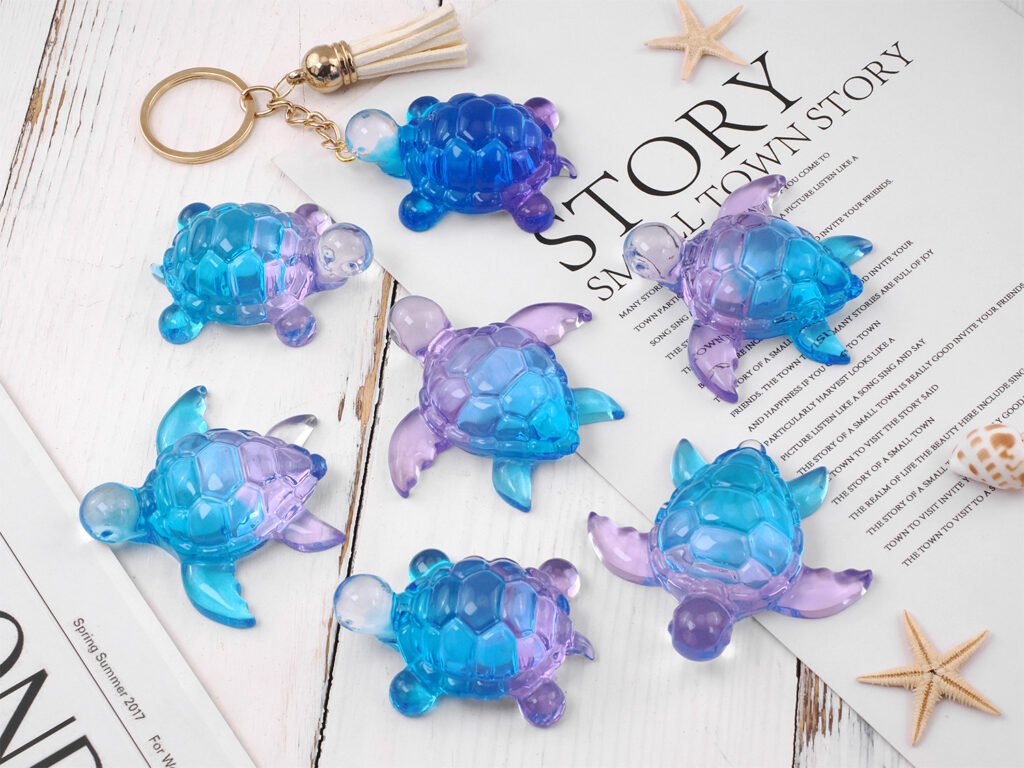
Welcome to the enchanting world of DIY resin crafting, where you can freeze this magic in time. Among the most beloved projects for both beginners and seasoned artists is the creation of DIY epoxy resin sea turtle keychains. These little charms are more than just key holders; they are miniature amulets, personalized gifts, and a beautiful way to carry a symbol of the ocean with you wherever you go.
At the heart of bringing these creatures to life is a crucial tool: the mold. Today, we are diving deep into the art of creating stunning, mirror-finish turtle keychains using high-quality silicone molds. Specifically, we will explore the wonders of crafting with a “mini turtle” or “sea turtle” silicone mold, and why the quality originating from manufacturing hubs like Dongguan makes all the difference in your creative journey.
The Allure of the Ocean: Why Sea Turtles?
The sea turtle is a powerful muse. In many cultures, it represents good luck, patience, and a long, prosperous journey. Unlike the fast-paced world we live in, the turtle encourages us to slow down, move with intention, and appreciate the depths of our surroundings.
Translating this symbolism into a DIY keychain creates a piece of wearable art that resonates on a personal level.
- For the Ocean Lover: It’s a tribute to their passion for marine life and conservation.
- For the Traveler: It becomes a charm for their keys, a reminder of beaches visited and horizons explored.
- For the Friend: It’s a heartfelt, handmade gift that says, “I took the time to create something unique just for you.”
And because keychains are small, they are the perfect canvas for experimentation. They require minimal resin, cure quickly, and allow you to try out dazzling techniques without a massive investment in materials.
The Heart of the Craft: Your Silicone Mold
Imagine trying to paint a masterpiece without a proper brush. The same principle applies to resin crafting. Your mold is the brush that shapes your vision. When you invest in a high-quality silicone mold, you are investing in the success of your project.
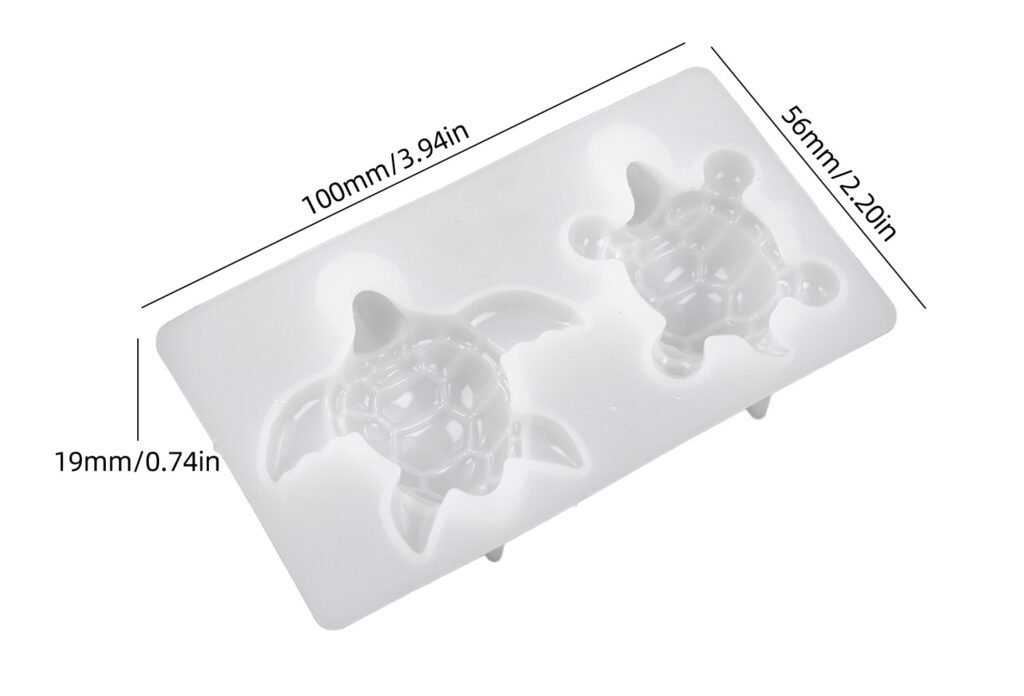
For this project, we are focusing on a specific treasure: the mini turtle/sea turtle silicone mold. But not all molds are created equal. Let’s look at what sets a premium mold apart, particularly those crafted with the precision often found in products from Dongguan.
1. The Magic of Silicone
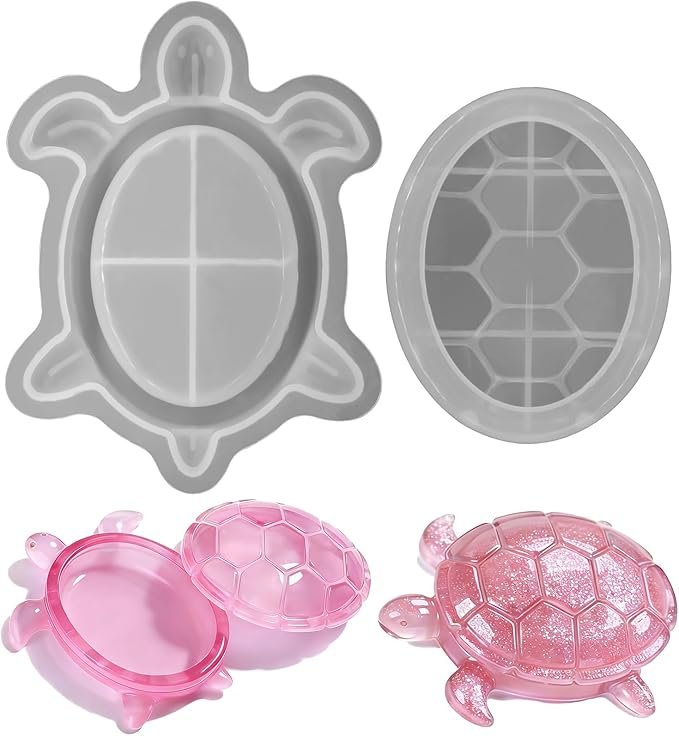
A professional-grade mold is made from flexible, food-grade silicone. This flexibility is crucial. It allows for the easiest demolding imaginable. After hours of waiting for your resin to cure, the last thing you want is to struggle to pry your delicate turtle out, risking a broken flipper or a chipped shell. A good mold releases your creation with a satisfying, gentle flex.
2. The Canvas Within: Achieving a Mirror Finish
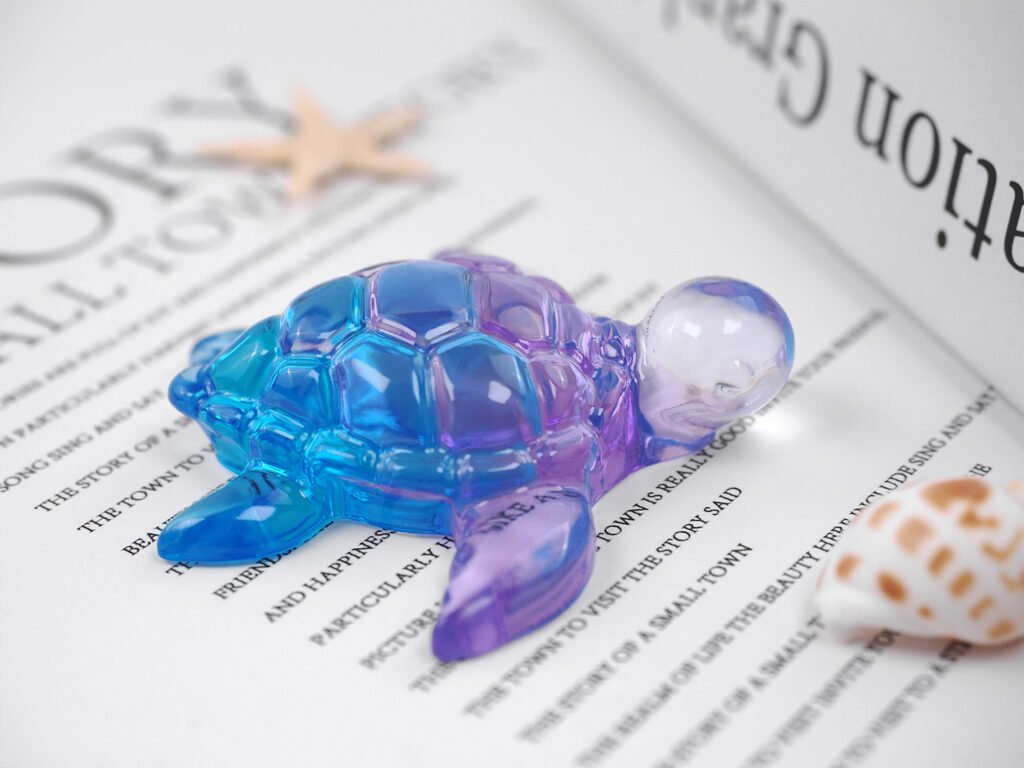
The inside surface of your mold dictates the final surface of your resin. A high-quality mold will have a perfectly smooth, polished interior. This is what creates that coveted mirror finish on your turtle keychain. When you pour your resin into a premium silicone mold, the liquid hugs every curve and detail. Once cured, you demold a piece that is glossy and brilliant, requiring minimal to no sanding or polishing. It looks like a piece of sea glass that has been tumbled smooth by the ocean for a hundred years.
3. The “Mini Turtle” Detail
The beauty of a mini turtle or sea turtle mold lies in the detail. Look for molds that capture the intricate patterns on the shell, the gentle curve of the flippers, and the sweet expression of the face. A well-made mold from a reputable source (like those manufactured in specialized facilities in Dongguan) will have deep, crisp impressions. This ensures that every detail of your turtle is perfectly replicated in the final resin piece.
Setting Sail: Supplies for Your Resin Voyage
Before we mix our first batch of resin, let’s gather our crew of supplies. Having everything at arm’s reach makes the process a soothing, meditative experience.
Your Essential Toolkit:
- Epoxy Resin: A high-quality, clear, two-part epoxy resin (1:1 ratio is common for projects like this).
- The Star Mold: Your miniature turtle/sea turtle silicone mold from Dongguan. Ensure it’s clean and dust-free.
- Colorants: This is where the magic happens. You have several options:
- Mica Powders: For opaque, shimmering, metallic, or color-shifting effects. Imagine a turtle with a shell that shifts from green to gold in the light.
- Alcohol Inks: For translucent, ethereal colors. You can create a realistic, glass-like turtle with subtle swirls of olive, amber, and deep blue.
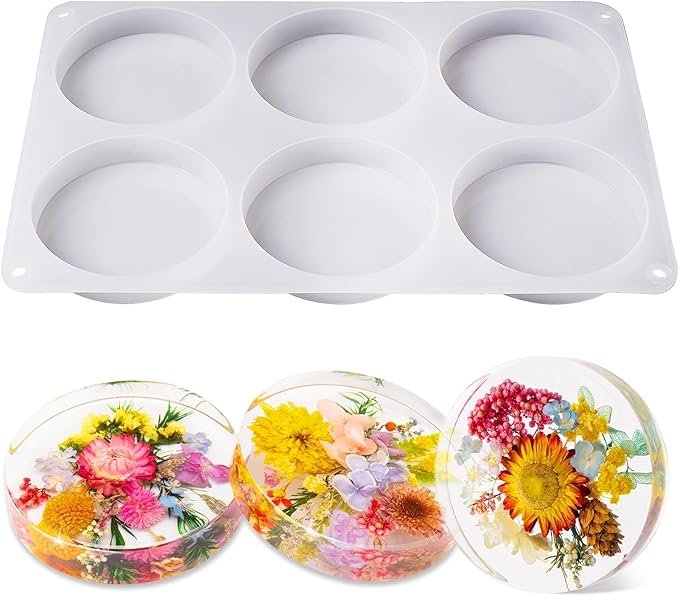
- Inclusions (Optional but Wonderful): Tiny specks of gold leaf for a magical touch, micro glitter for sparkle, or even small dried flowers to place under the turtle for an undersea garden effect.
- Mixing Supplies: Disposable graduated cups, wooden stir sticks, and toothpicks.
- Safety Gear: Nitrile gloves and a well-ventilated workspace are non-negotiable.
- Heat Gun or Torch: Essential for eliminating micro-bubbles that can cloud your clear creation.
- Keychain Hardware: Eye screws, jump rings, and keychain rings. You’ll also need a small drill or a precise hand drill to create a hole for the hardware.
- Paint Markers (Optional): Fine-tipped black and white paint markers for adding that final, lifelike gleam to your turtle’s eye.
Step-by-Step Tutorial: Bringing Your Sea Turtle to Life
Now, let’s embark on the creative process. Clear your mind, put on some music that sounds like ocean waves, and let’s begin.
Step 1: Prepare Your Canvas
Place your silicone mold on a level, protected surface. Use a piece of tape to secure it if necessary. Check the mold cavities for dust or lint and remove any with a piece of tape or a blast of compressed air.
Step 2: The Color Play (Optional but Transformative)
Before you even mix your resin, you can add a dimensional effect to your turtle. Using a small, soft brush, dust a small amount of mica powder into the details of the mold.
- Dust a shimmery green or gold onto the shell pattern.
- Add a touch of metallic bronze to the edges of the flippers.
- Tap out the excess. This creates a beautiful, highlighted detail that will show through your resin.
Step 3: Mix Your Resin
Following the instructions on your chosen resin, measure equal parts of resin and hardener into your mixing cup. Stir slowly and thoroughly for at least 2-3 minutes. Scrape the sides and bottom of the cup as you stir. A properly mixed resin will be clear and free of streaks.
Step 4: Color the Resin
Pour your clear, mixed resin into smaller cups if you are doing multiple colors.
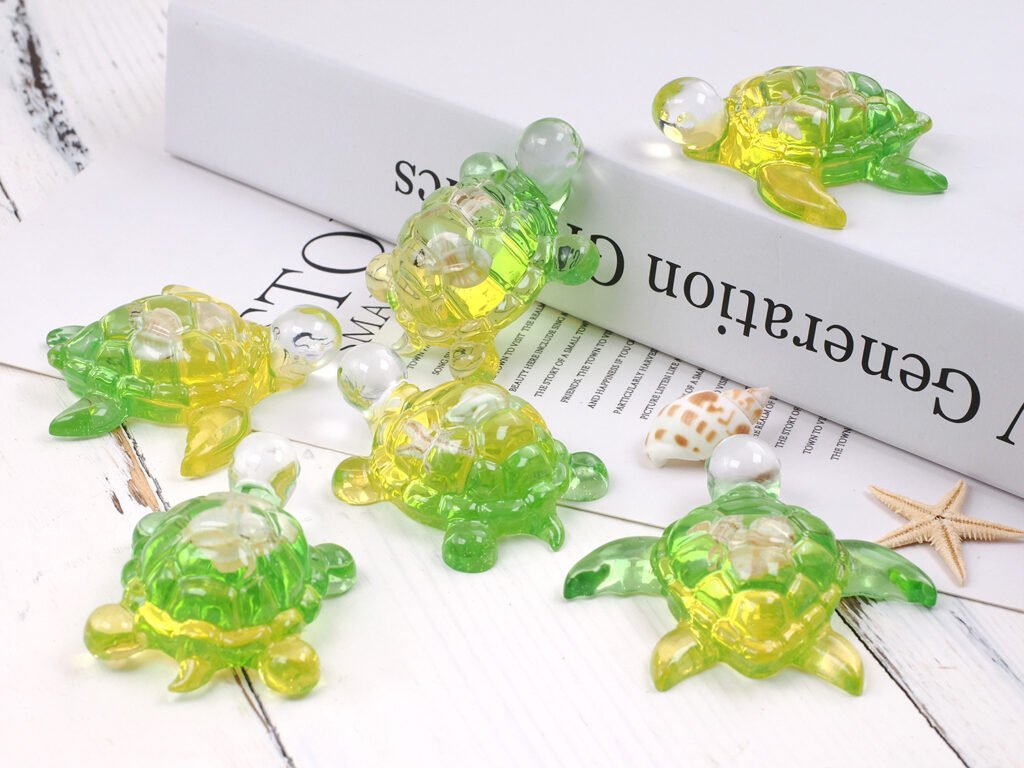
- For a realistic turtle: Add a tiny drop of green alcohol ink or a pinch of green mica. For the shell, you might mix a separate batch with amber or brown tones.
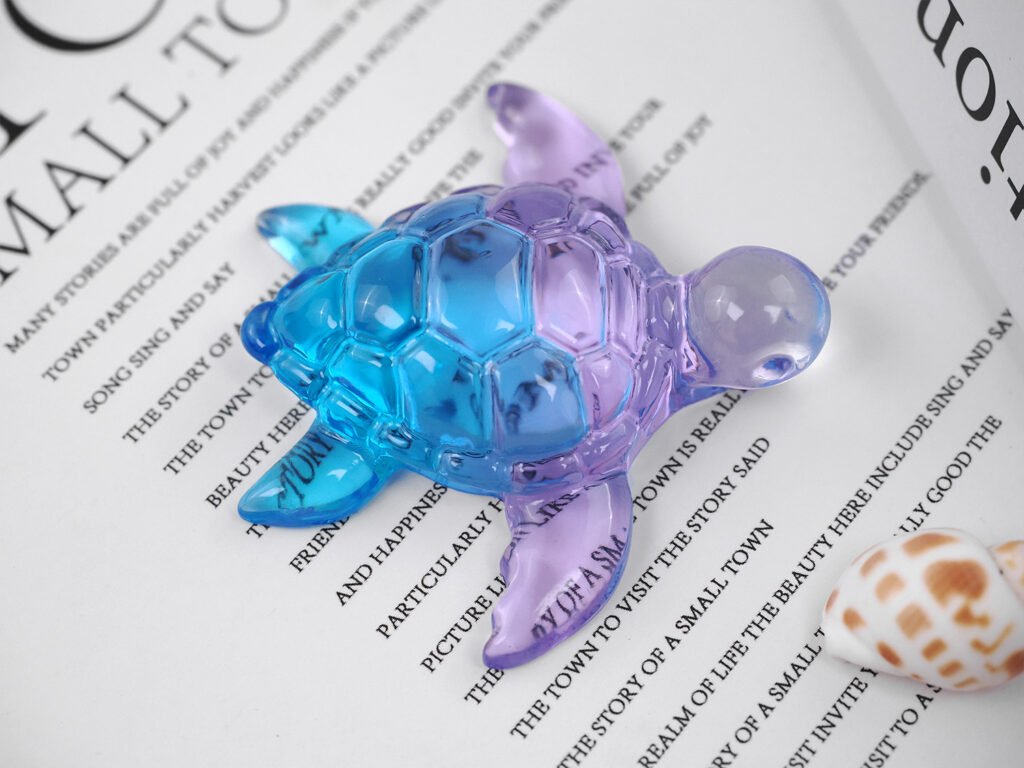
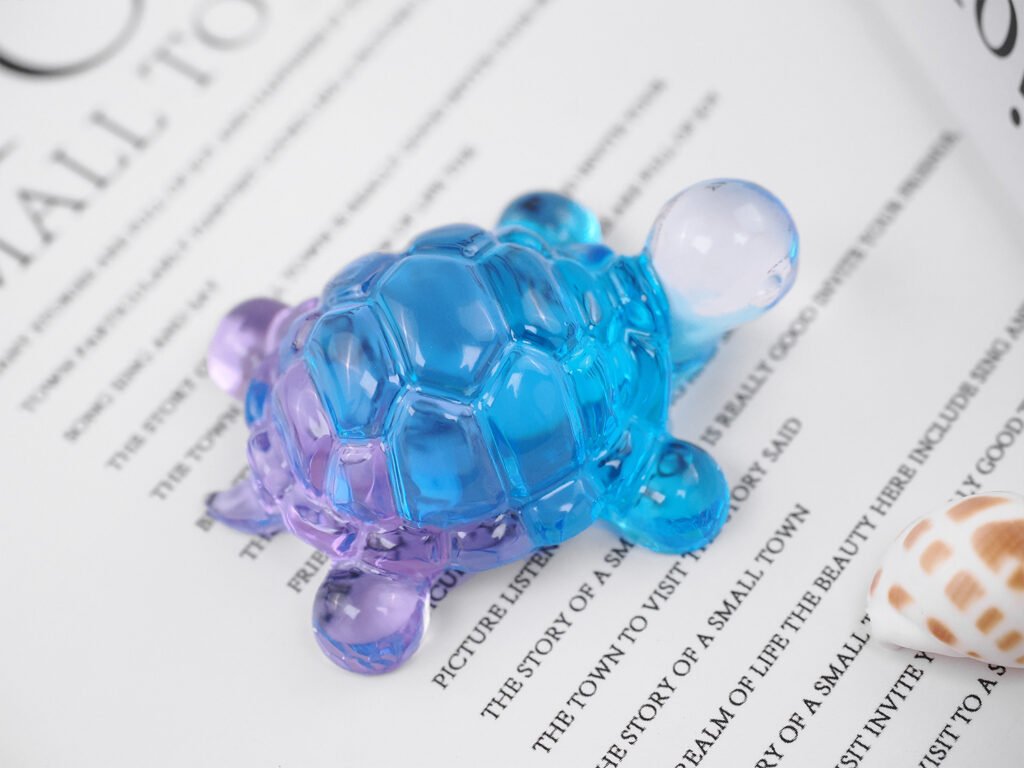
- For a fantasy turtle: Go wild with blues, purples, or color-shifting pigments.
Step 5: Pouring with Care
Slowly pour the resin into the mold cavities. If you pre-colored the mold with mica, be gentle so you don’t wash the powder away. Fill the mold to the very top. The surface tension of the resin will create a slight dome, which will become the smooth, rounded top of your keychain.
Step 6: The Bubble Hunt
This step is crucial for a crystal-clear, mirror finish. Take your heat gun or torch and hold it a few inches above the filled mold. Move it back and forth in slow, sweeping motions. You will see tiny bubbles rise to the surface and pop. This is incredibly satisfying.
Step 7: The Waiting Game
Now, the hardest part: waiting. Cover your mold with a dust cover (a cardboard box works perfectly) and leave it undisturbed for at least 12-24 hours, or as recommended by your resin manufacturer.
Step 8: The Great Reveal (Demolding)
Once the resin is fully cured (it should be hard and not flexible), it’s time for the moment of truth. Gently flex the silicone mold. You should see your beautiful turtle begin to release. Carefully push from the bottom of the mold to pop your creation out. Hold it up to the light and admire your work!
Step 9: Giving It Life (The Eye Detail)
This optional step adds so much personality. Using a fine-tipped black paint marker, carefully fill in the eye on your turtle’s head. Allow it to dry. Then, using a white paint marker, add a tiny white dot in the corner of the eye. This “catch light” is what makes the eye look alive and glossy. Seal it with a tiny drop of clear UV or epoxy resin to protect it.
Step 10: From Charm to Keychain
Your turtle needs a way to attach to your keys!
- Drill the Hole: Using a small micro-drill bit, carefully drill a hole. You can drill it right where the nose would be, or near the tail, depending on your preference.
- Insert the Hardware: Screw an eye screw into the hole. For extra security, add a tiny drop of strong adhesive to the threads before inserting.
- Attach the Chain: Use pliers to open a jump ring, hook it through the eye screw, and then attach your keychain ring. Close the jump ring securely.
Congratulations! You have just created a unique piece of art.
Design Inspirations: Diving Deeper
Once you’ve mastered the basic turtle, the ocean is the limit. Here are some ideas using your mini turtle silicone mold:
- The Mother of Pearl Turtle: Mix white and iridescent mica powders for a soft, opalescent turtle that looks like it’s made from the inside of a shell.
- The Ocean Inside: Create a turtle with a mirror finish back, but for the shell, embed tiny pieces of crushed blue glass or glitter to look like the sparkling sea.
- The Realist: Use multiple layers. Pour a thin layer of clear resin first. Once it’s tacky, place a tiny, dried fern to look like seaweed, then pour your colored turtle on top. This gives a beautiful 3D, underwater effect.
- The Galaxy Turtle: Swirl deep purples, blues, and a touch of silver glitter into the resin to create a cosmic turtle swimming through the stars.
The Dongguan Difference: Quality You Can Trust
When searching for the perfect mold, you may notice many listings originating from Dongguan, a major manufacturing hub in China. This is not a coincidence. Dongguan has a well-earned reputation for precision engineering and high-quality silicone production.
Molds from this region are often characterized by:
- Thickened, Durable Silicone: They are designed to withstand repeated use without tearing or losing their shape.
- Precision Detailing: The craftsmanship ensures that every scale on your turtle’s shell and every curve of its flipper is perfectly defined.
- Consistent Results: A well-made mold from Dongguan provides a reliable, professional finish every single time, ensuring your creative vision is realized without technical flaws.
Caring for Your Ocean Treasures
To keep your resin turtle keychains looking their best:
- Clean them with a soft, damp cloth. Avoid harsh chemicals or abrasives.
- Store them away from direct sunlight for extended periods to prevent any potential yellowing over many years.
- When drilling, wear a mask to avoid inhaling resin dust, and work slowly to prevent cracking -5.
Conclusion: Set Your Creativity Free
There is a profound joy in transforming simple liquid resin into a solid, beautiful, and meaningful object. With a mini turtle/sea turtle silicone mold, you are not just making a keychain; you are capturing a symbol of the ocean’s timeless grace. You are creating a token of patience, endurance, and beauty that you can carry with you every day or gift to someone special.
Whether you are drawn to the shimmer of metallic shells, the clarity of a mirror finish, or the simple, adorable face of a tiny turtle, this project is a perfect dive into the world of resin. So, gather your supplies, let the Dongguan-quality silicone be your guide, and let the ocean’s soul flow through your fingertips.
The tide is high, and your creativity is waiting. Happy crafting
Contact me for custom procurement.:silicone@silic0ne.com