
 silicone@silic0ne.com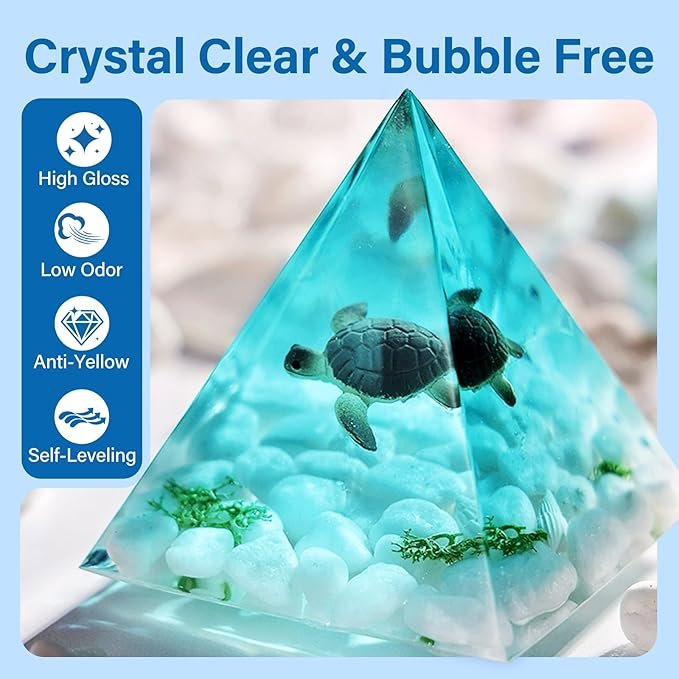
There is a moment in every crafter’s life when they see something made of resin – a glossy pendant, a shimmering coaster, a flower preserved forever in crystal-clear material – and think, I wish I could make that. And then they imagine buying all the pieces separately. The resin. The hardener. The molds. The pigments. The flowers. The measuring cups. The gloves. The everything. It is overwhelming. Expensive. Confusing.
So they close the browser tab. They scroll past. They never make the thing.
The Epoxy Resin Kits and Molds Complete Set exists to erase that regret forever. This is not a starter kit that requires you to buy “just a few more things.” This is a complete kit – 16oz of premium epoxy resin (8oz resin + 8oz hardener), four silicone molds, twelve vibrant glitters, twelve real dried flowers, and all the essential tools: measuring cups, wooden sticks, gloves, droppers. Everything except your imagination.
Housed in a beautifully designed box, this kit is ready to gift or to keep. It includes a comprehensive tutorial, so even absolute beginners can achieve stunning results on their first attempt. Whether you are buying for yourself, your creative best friend, your mother, or your daughter, this kit delivers the joy of making something beautiful with your own hands.
Let us open the box together.
Chapter One: The All-in-One Promise – No Hidden Shopping Lists

The most frustrating thing about hobby kits is the asterisk. Batteries not included. Molds sold separately. Pigments not included. You buy the “complete” kit, open it, and discover you are still missing crucial components. Another trip to the craft store. Another online order. Another delay before you can actually start creating.
This kit makes a different promise – and keeps it.
Inside the box, you will find:
- 16oz premium epoxy resin (8oz resin part A + 8oz hardener part B) – enough for multiple projects
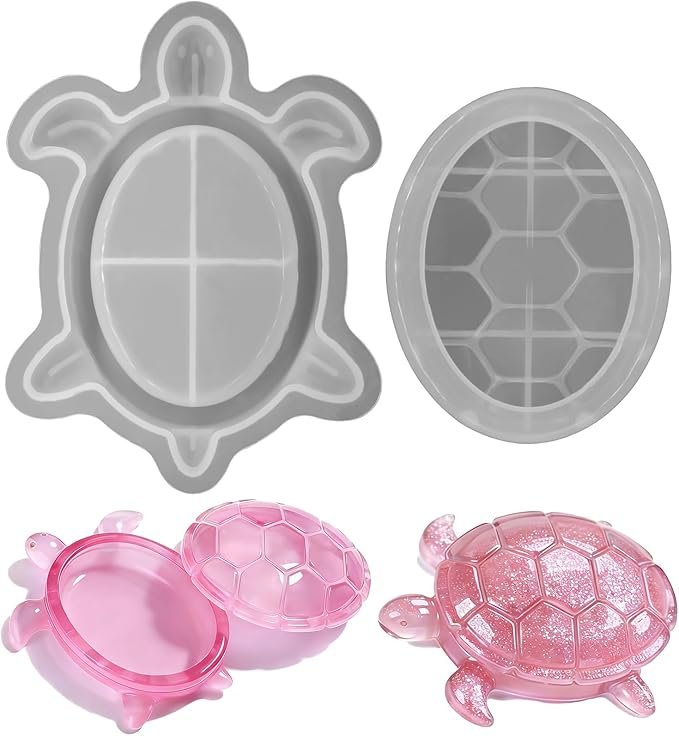
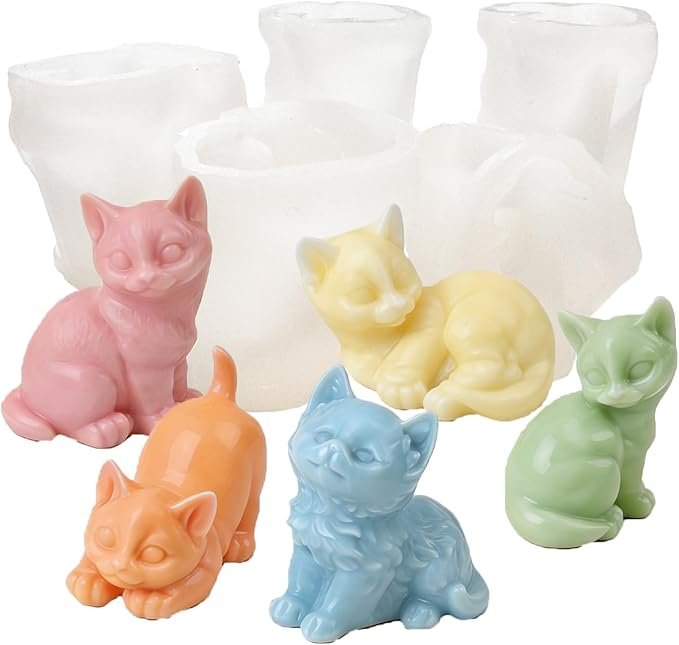
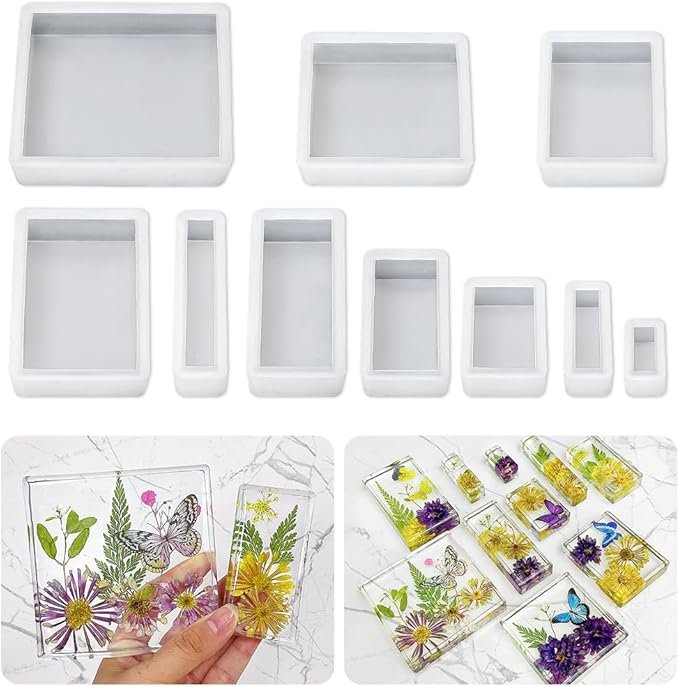
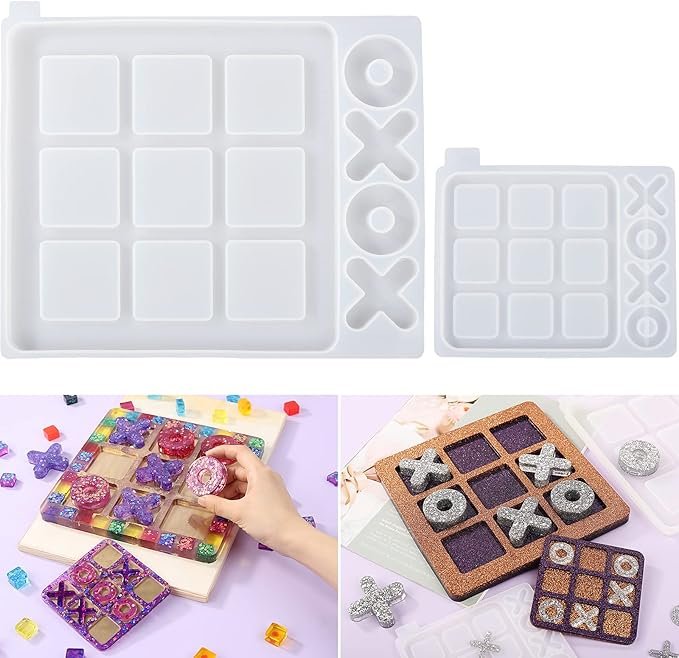
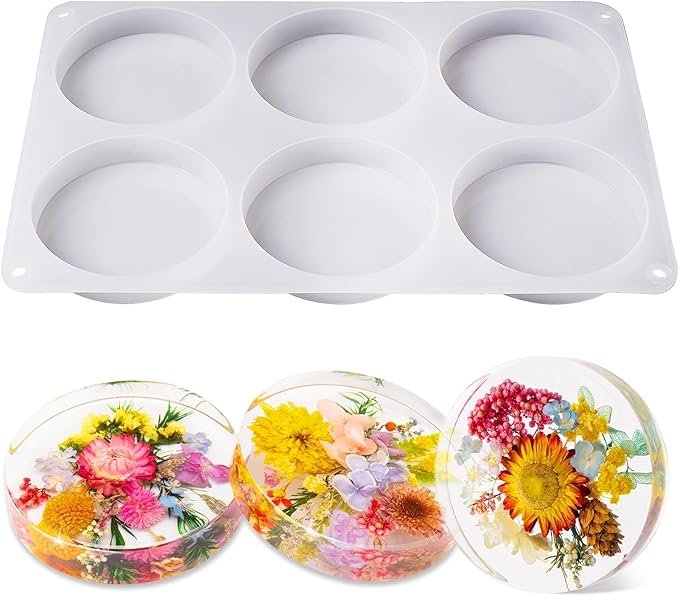
- 4 versatile silicone molds – shapes that let you make coasters, jewelry, or small decorative items
- 12-color glitter set – a dazzling array of shimmering pigments
- 12 real dried flowers – preserved botanicals ready for embedding
- Essential tools – measuring cups, wooden mixing sticks, protective gloves, droppers
- Comprehensive tutorial – step-by-step instructions for first-time success
- Beautiful gift box – ready for presenting
That is everything. Open the box, lay out the contents, and you are minutes away from pouring your first resin project. No trips to the store. No “oh, I forgot the…” No frustration.
What you supply: A flat, level work surface. Ventilation (open a window). Patience while the resin cures. That is it.
Chapter Two: The Resin Itself – 16oz of Premium, Beginner-Friendly Formula
Let us talk about the heart of the kit: the epoxy resin. Many starter kits include cheap, poorly formulated resin that yellows quickly, refuses to cure properly, or develops “fisheye” (those frustrating circular voids where the resin pulled away from the mold).
This kit includes premium epoxy resin – a two-part system with a simple 1:1 volume ratio. Mix equal parts of the 8oz resin (part A) and 8oz hardener (part B). Stir thoroughly for 2-3 minutes, scraping the sides and bottom of your mixing cup. Pour. Create.
Why this resin performs better:
- Self-leveling – Spreads evenly without requiring you to tilt and manipulate the mold excessively
- Low bubble retention – Properly formulated to release bubbles easily (though a heat gun or torch helps)
- Clear, non-yellowing – Stays crystal clear for years, not months
- Fisheye-free – Proper surface tension means no frustrating bare spots
Cure times that make sense:
- Summer (warm conditions): 8-24 hours to full cure
- Winter (cold conditions): Longer cure times – sometimes 48+ hours
Winter usage tip (critical for cold-weather crafters): The instructions specifically recommend warming the resin by water bath before mixing. Place the sealed bottles in warm (not boiling) water for 5-10 minutes. Also keep your work surface warm – resin cures best at 70-80°F (21-27°C). Cold resin becomes thick, difficult to mix, and prone to incomplete curing. This is true of all epoxies, and this kit gives you the heads-up.
How much can you make with 16oz? Approximately 16-20 standard coasters, 40-50 pendants, or a combination of small projects. Enough to learn, experiment, and create a meaningful set of finished pieces.

Chapter Three: Superior Silicone Molds – The Foundation of Flawless Art
A beautiful resin piece starts with a quality mold. Cheap molds tear. They warp. They leave rough edges. They release their contents reluctantly, often damaging your finished work in the process.
The four silicone molds in this kit are described as “superior quality” – and the details support that claim.
Key features of these molds:
- Safe and durable silicone material – Non-toxic, food-grade (though resin is not for food contact), odorless
- Superior tear strength – Thickened walls resist ripping during demolding
- Precise shape retention – The molds hold their form even when filled with heavy resin
- Longevity – Designed for repeated use, not single casting
- Compatibility – Works with epoxy resin, soap, wax, and other casting materials
What shapes are included? While the prompt does not specify exact shapes (sets vary), typical “complete kits” include a mix of:
- Coaster molds (round or square)
- Pendant molds (oval, rectangle, or teardrop)
- Ring molds
- Small tray or dish molds
The four molds provide variety without overwhelming a beginner. You can learn basic pouring techniques on the simpler shapes, then progress to more detailed casts.
Demolding tip: Do not rush. Resin should cure fully – 24 hours minimum, longer in cold weather. When ready, gently peel the silicone away from the casting. Do not pull the casting out of the mold; pull the mold off the casting. The flexible silicone makes this easy if you wait long enough.
Chapter Four: Dried Flowers and Vibrant Glitters – Your Creative Palette

Resin art becomes truly magical when you add inclusions. The clear material acts as a time capsule, preserving whatever you embed inside. This kit gives you two types of inclusions to start with:
12 real dried flowers – Preserved botanicals that retain their color and delicate structure. Typical flowers in such kits include:
- Small pressed roses or rose petals
- Baby’s breath (gypsophila)
- Ferns or other delicate foliage
- Lavender buds
- Small daisies or chamomile
- Colorful petals (blue, pink, yellow)
How to use dried flowers in resin:
- Seal the flower first by brushing on a thin layer of resin and letting it become tacky
- Place the sealed flower into your mold
- Pour the remaining resin over and around it
- Unsealed flowers release bubbles as air escapes from petals – sealing prevents this
12-color glitter set – A dazzling array of shimmering pigments, likely including:
- Gold, silver, copper (classic metallics)
- Holographic or iridescent options
- Bold colors (red, blue, green, purple)
- Fine and chunky textures for variety
Glitter techniques:
- Mix directly into resin for all-over sparkle
- Sprinkle into the mold before pouring for a “bottom glitter” effect
- Layer between resin pours for depth
- Use as an accent on specific areas with a toothpick
Beyond the kit: Once you master the included materials, you can add your own inclusions – small shells, stones, sequins, beads, foil, even photographs (sealed first). The kit gives you a starter palette; your imagination expands it.
Chapter Five: Essential Tools – Measuring, Mixing, Protecting

Resin art requires precision and cleanliness. This kit includes everything you need to work safely and accurately.
Measuring cups – For accurate 1:1 ratios. Use one cup for resin (part A), a separate cup for hardener (part B), then combine in a third cup for mixing. Or use the same cup sequentially if you clean between. The kit likely includes marked cups for easy measurement.
Wooden mixing sticks – Better than plastic or metal for resin work. Wood creates less static and fewer bubbles. Use one stick for initial mixing, then switch to a fresh stick for the final stir to ensure no unmixed residue clings to the first stick.
Protective gloves – Essential. Uncured resin can cause skin irritation or allergic reactions over time. Wear gloves during mixing, pouring, and demolding. The kit includes enough for multiple sessions.
Droppers – For adding pigments or placing small amounts of resin precisely. Useful for:
- Dropping alcohol ink into resin for swirl effects
- Placing resin into small mold cavities (ring molds, pendant molds)
- Applying a thin “seal coat” over flowers before full pour
Comprehensive tutorial – Paper instructions or a QR code linking to video tutorials. For absolute beginners, this is invaluable. The tutorial covers:
- Workspace setup and safety
- Proper mixing technique
- Adding colors and inclusions
- Pouring and bubble removal
- Curing times and demolding
- Troubleshooting common issues
Chapter Six: Perfect for Beginners – Designed for First-Timer Success

Let us be honest: resin can be intimidating. The two-part chemistry. The precise measuring. The fear of bubbles. The wait time. Many people buy resin supplies, let them sit on a shelf for months, and never actually pour anything.
This kit is specifically designed to overcome that inertia.
Beginner-friendly features:
- 1:1 mix ratio – No complicated math. Equal volumes. Easy.
- Pre-measured 8oz bottles – You do not need to calculate how much to mix for a project. Start with small batches (2-4oz total) while you learn.
- Small molds – Smaller projects mean less wasted resin if something goes wrong. Lower stakes = more willingness to try.
- All inclusions provided – No decision paralysis about what to add. The kit gives you flowers and glitters. Use them or don’t.
- Tutorial included – Follow along. Pause. Rewind. You cannot mess this up.
The learning progression:
- First pour: Use clear resin only. Learn to mix, pour, and demold. No inclusions. Just get a successful cast.
- Second pour: Add glitter. Learn to mix inclusions into resin.
- Third pour: Add dried flowers. Learn sealing and placement.
- Fourth pour: Combine techniques. Create your masterpiece.
By the end of the kit, you will have multiple finished pieces and the confidence to buy larger quantities of resin and more molds. The kit is a launchpad, not a destination.
Chapter Seven: The Gift Box – Beautifully Presented for Any Occasion
Resin supplies alone are not a gift. A pile of bottles and molds in a plastic bag feels like an errand, not a present. But put those same supplies in a beautifully designed box, and suddenly it becomes an experience.
The kit arrives ready to give. The box is attractive enough to wrap or to present as-is. Inside, the components are organized, not jumbled. Opening it feels like unwrapping a promise of creativity.
Perfect for these occasions:
- Birthdays – For the friend who has everything but needs something to do
- Anniversaries – A shared activity for a creative couple
- Christmas – The “something handmade” gift that keeps giving (they make things, you receive things – everyone wins)
- Mother’s Day – Moms rarely buy craft supplies for themselves. Give her the permission and the tools.
- Just because – The best gifts have no calendar reason
Who is this gift for?
- Women who love DIY projects
- Teenagers exploring creative hobbies
- Empty nesters looking for engaging activities
- Anyone who watches resin videos on social media and says “I could do that” (now they can prove it)
- Crafters stuck in a rut (resin is different from knitting, painting, or scrapbooking – a new medium refreshes creativity)
The box itself becomes part of the gift – storage for finished pieces or for leftover supplies.
Chapter Eight: Unleash Your Creativity – Project Ideas for Your First Weekend
Once you open the kit, what will you make? Here are starter projects perfect for beginners.
Glitter coasters (set of 4): Pour resin mixed with different glitter colors into the four molds. Coordinate colors for a set (e.g., gold, silver, rose gold, bronze). Demold after 24 hours. Present as a housewarming gift or keep for your coffee table.
Dried flower pendants: Use the smallest molds (typically included for jewelry). Seal small flowers – a single baby’s breath bloom, a tiny rosebud – and place in the mold. Pour clear resin. Add a jump ring and chain after curing. Wearable art.
Confetti tray: Mix leftover glitter and small flower petals randomly into resin. Pour into a tray mold. The result looks like celebration confetti frozen in time. Use as a jewelry dish or key bowl.
Layered ocean coaster: Pour a thin layer of clear resin with blue glitter. Let set. Pour a second layer with white glitter (waves). Let set. Pour a final clear layer over everything. Three layers, one stunning effect.
Pressed flower paperweights: Use the largest mold (likely a coaster or small tray). Arrange multiple flowers in a composition before pouring. The clear resin magnifies and protects the botanical arrangement.
Mixed media experiments: Once comfortable with the kit materials, add your own elements – small beads, broken shell pieces, coffee grounds (for texture), even sand from a memorable beach trip.
The tutorial included with the kit likely provides step-by-step photos for several of these projects. Follow along exactly for guaranteed success.
Chapter Nine: Customer Support – Help When You Need It
No matter how complete the kit or thorough the tutorial, questions arise. Does resin expire? Why are there bubbles? Can I sand this rough edge? How do I fix a sticky spot?
The manufacturer makes a clear promise: “Have questions? We’re here to help—reach out to us anytime for assistance.”
This matters. Many craft supply sellers disappear after the sale. Responsive customer support is the difference between a frustrated beginner who quits and a delighted beginner who becomes a repeat customer.
Common beginner questions the support team can answer:
- “My resin didn’t cure – it’s still tacky after 48 hours.” (Likely causes: incorrect ratio, insufficient mixing, cold temperature)
- “Bubbles everywhere – what do I do?” (Use a heat gun or torch; warm your resin before mixing)
- “Can I use this mold for soap instead of resin?” (Yes – silicone molds are versatile)
- “How do I get a high-gloss finish without sanding?” (Pour a thin top coat over the cured piece)
- “The dried flower floated to the top!” (Let the resin thicken slightly before placing the flower, or pour in layers)
Do not suffer in silence. Use the support channel. That is what it is there for.
Chapter Ten: Comparison – Complete Kit vs. Buying Separately
Let us do the math. Could you assemble this kit yourself by purchasing components individually?
| Component | Cost if bought separately |
|---|---|
| 16oz epoxy resin (quality brand) | $25-35 |
| 4 silicone molds (quality) | $15-25 |
| 12-color glitter set | $8-12 |
| 12 dried flowers | $10-15 |
| Measuring cups, sticks, gloves, droppers | $5-10 |
| Tutorial (video course or book) | $10-20 |
| Gift box (presentable) | $5-10 |
| Shipping from multiple sellers | $10-20 |
| Total separate purchase | $88-147 |
| This complete kit | Significantly less |
Beyond the cost savings, the kit saves time and decision fatigue. No research into which resin brand works with which molds. No guessing whether these flowers will bleed color into that resin. No worrying that you forgot something crucial.
The kit is curated by people who know resin. They have tested the combinations. They guarantee compatibility. For a beginner, that peace of mind is worth more than the price difference.
Conclusion: Open the Box, Pour Your First Piece, Fall in Love
There is something almost magical about epoxy resin. Liquid becomes solid. Clear becomes colored. Separate components become a unified whole. And you – the artist – orchestrate the transformation.
The Epoxy Resin Kits and Molds Complete Set removes every barrier between you and that magic. The materials are high quality. The tools are included. The instructions are clear. The presentation is beautiful. All that is missing is your willingness to try.
So try. Pour your first coaster. Embed your first flower. Mix your first glitter swirl. If it is imperfect, call it “rustic” and try again. Each piece teaches you something. Each finished object carries the pride of “I made this.”
Give the kit as a gift, and you give more than supplies. You give hours of peaceful focus. You give the joy of creation. You give something to look forward to on a rainy afternoon.
Keep the kit for yourself, and you give yourself permission to be a maker. Not just a consumer. Not just a scroller of other people’s creations. A maker.
The box is waiting. The resin is measured. The flowers are dried. The glitter is ready to shine.
Order your kit today. Mix, pour, create. And discover the artist you have always been.